Sunday, June 8, 2014

Three Years in the Making

My husband and I just celebrated our first wedding anniversary and third anniversary together on Thursday. Since our first anniversary as a couple, we have been taking a picture every year. The next year, we take a picture holding the previous year's picture. Now that we're three years in, it's starting to come together nicely!


My advice to anyone who decides to do this is to start with a larger picture! An 8x10 starts to look really small after a couple years. I didn't want to change it now, though, because I like consistency.I'm very pleased with it, though. Each year I put the new picture into the frame and move the old picture to an album.

On our first anniversary as a couple, my then-fiancé and I wrote letters to each other. Then, without reading them, we put them in the middle of a little bottle of rocks to be opened on our first anniversary as a married couple.


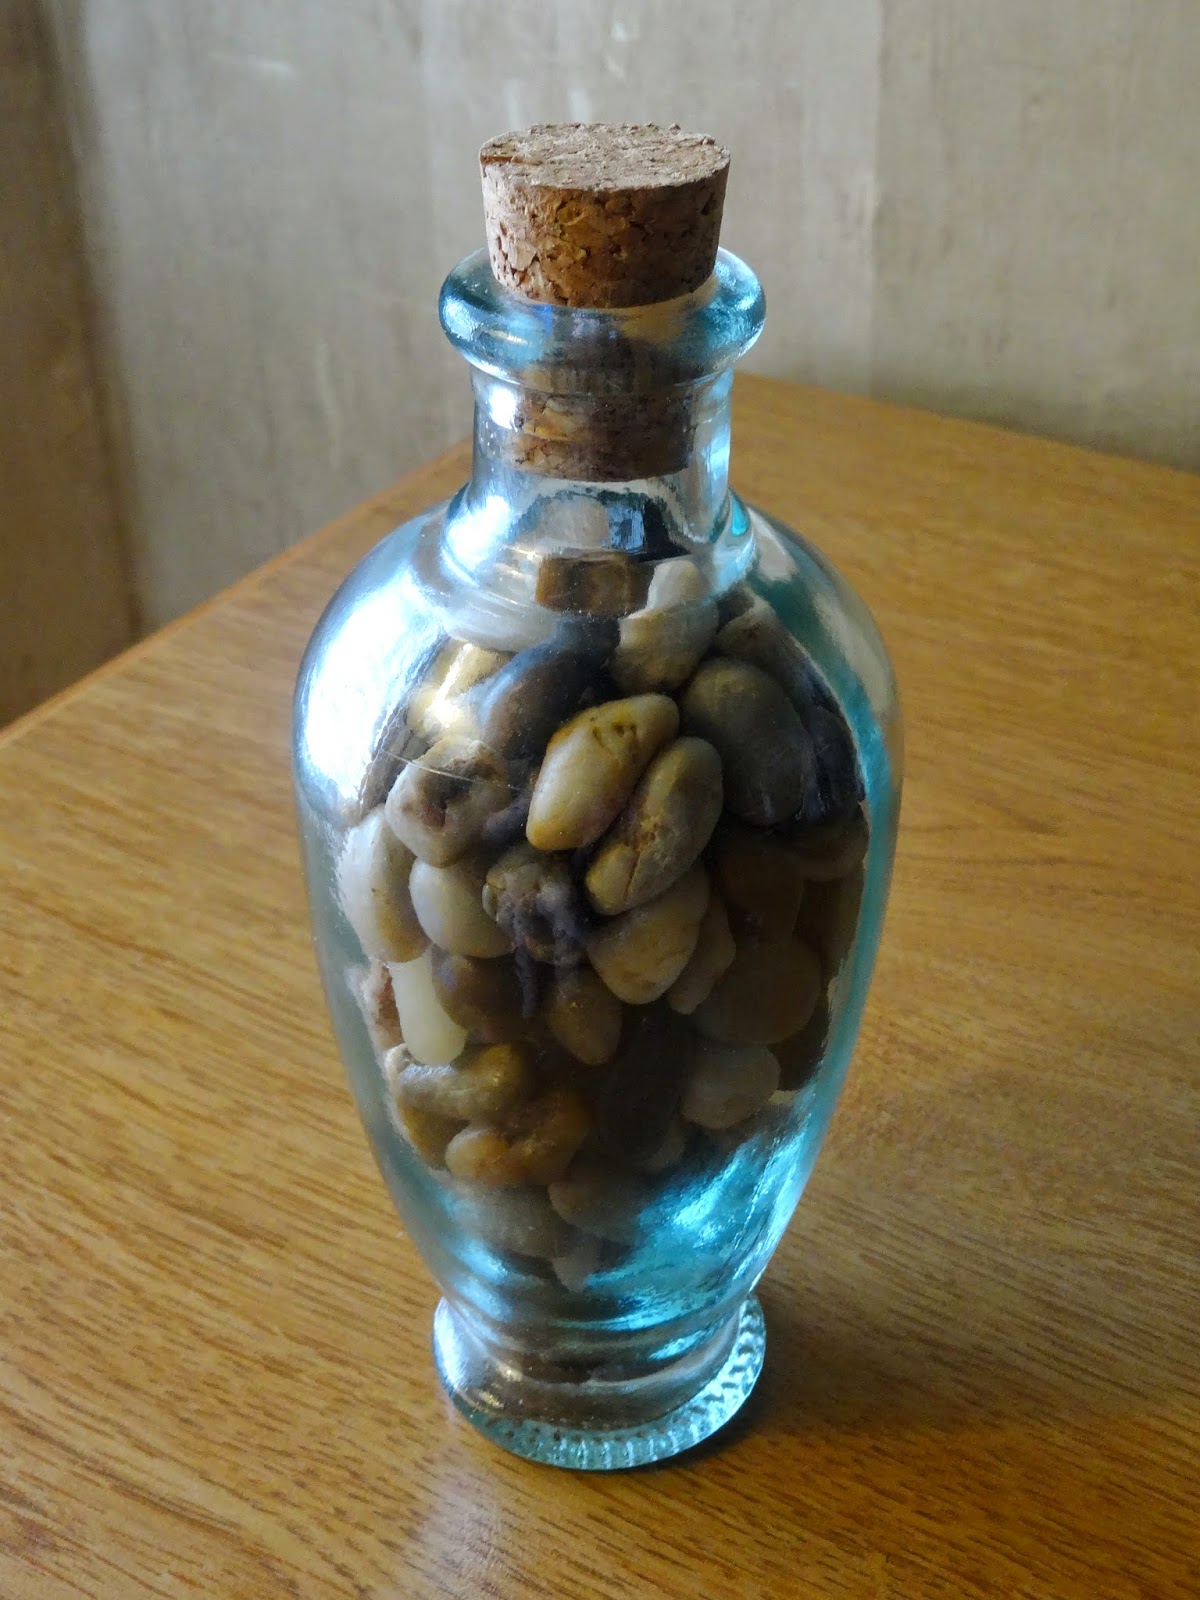
Two years later, it was so much fun to see what we predicted our lives would be like! There were also some very sweet words in those letters, and I definitely teared up a bit. I'm going to keep the contents of those letters private, but here's a picture of the little jar next to our tradition photo.


We chose not to save the top tier of our wedding cake, like many couples do. Something about eating year-old frozen cake didn't sound at all appealing to either of us (not knocking those who do it! I just barely like cake as it is). Instead, we went to the same bakery and the same cake decorator made us a scaled-down version of our wedding cake. It was absolutely perfect! She even made us a tiny, dark chocolate cake topper! That was a nice touch since we were so busy at our wedding that we forgot all about the cake topper...

All in all it was an incredible first wedding anniversary. Reece and I went to Branson and had a lot of fun. I am so lucky to have such an amazing man in my life, and look forward to the many years we have ahead of us!


Monday, May 26, 2014

Paper Anniversary

My first wedding anniversary is coming up, which is traditionally the Paper Anniversary. I have a few idea about what I'd like to get for my hubby, but that's a post for another day. Until then, I'd like to share the gift I made him for Valentine's Day that could easily be reworked for a first anniversary gift.


This was an incredibly easy craft requiring a deck of cards, Mod Podge, a hole punch, binder rings, and some decorations! The hardest part was narrowing down my list to 52 things!


This craft was not my idea. I used the tutorial and template provided by Wives Unscripted. There's another great tutorial at this website.


The first step is making a list of all the things you love about the person you're making the gift for. If you are having trouble coming up with items, several people have posted theirs online if you need some inspiration.


You can use any deck of cards, but I chose one with really lovely artwork that I knew my husband would appreciate (he did, he wants another pack to play with). Cutting out all the individual squares took some time, especially since I somehow fail at using a paper cutter. I made a template to punch out the holes with using one of the instruction cards for the deck and attached all the cards together with binder rings. I added some embellishments to the "cover" and voila!


Overall it was very easy and inexpensive to make, and I'm very pleased with the end result! My husband loved it too, which is the most important part. What did you get for your Paper Anniversary?


Wednesday, May 7, 2014

Artist Trading Cards

Thanks to my lovely pen pal Erica, I have discovered Artist Trading Cards! I've really enjoyed making them and trading them with people all around the world. Mine have been mostly mixed-media using water color paints, stamps, and found objects. I've been participating in swaps on ATCs for All, which has been a lot of fun! Here are some of the cards I've made so far:

Let me know what you think! Or if anyone who might read this likes to trade, drop me a line or find me on the ATC site I linked above. Have a great week, everyone!

Tuesday, December 31, 2013

Summer Pizza

What? Summer? It's the middle of Winter! I know it is, but I have been craving the heck out of Summer Pizza lately!

Summer Pizza is incredibly easy to make. You will need:
  • One can of crescent rolls
  • One block of cream cheese
  • Red bell pepper
  • Green bell pepper
  • Tomatoes (one large or a couple small)
  • Zucchini
  • Any other veggies you'd like to add
First, open the crescent rolls and roll them out to form a pizza crust. It doesn't have to be round, you could just as easily press it into a square pan. Bake the crust according to the directions on the package.

While your crust is baking, let the cream cheese sit out so it's easier to spread later on. You can also use this time to dice all of your vegetables!

Once the crust is done, let it cool and then spread the cream cheese over the top like you would a sauce. You can spread it all the way to the edge if you'd like, but I prefer to leave a little crust to hold on to.

After that, top with your diced veggies and you're finished! Enjoy your delicious, refreshing Summer Pizza.
It's really easy to make a double batch of this to take to potlucks, too. Just use a larger pan (like a baking sheet) and cut into squares! Let me know what you think if you try it. This is a quick, simple, very customizable dish and I can't wait to make it with fresh veggies this Summer!

Wednesday, December 25, 2013

Happy Holidays!

Just wanted to pop in to wish you all happy holidays! Reece and I are spending the day with good food and family. See you next year!


Sunday, December 22, 2013

Pet Ornaments!

I must admit, I'm something of a crazy cat lady. With four fur babies (three of which are curled up with me as I write this post), of course I'd want to include them in my holiday decorations! This year I decided to make an ornament for each of the cats, with their help.
I bought red and green Sculpey III, which I had never used before (I always buy the big bricks of white Sculpey II and paint it). I rolled out the clay and cut out my individual ornaments with the top of a cup.
 Then came the fun part: Catching the cats and pressing their paws into the clay! Some were more cooperative than others. Of course, make sure you're not causing your pet too much stress. If they don't want to participate, try again later. If the paw print isn't very deep, you can take your pinky finger and make the impression a little deeper. If you mess up, just wad up the clay and try again!
Pheeny clearly did not want to make ornaments. Her paw print came out a little wonky, so I'll probably remake it at some point. After I had their prints, I took my clay embossing tool and added their names and the year. I poked a hole in each one for hanging.
 I baked the ornaments according to the directions on the clay, and let them cool. Once they cooled, I painted each one with black paint to bring out the detail in the lettering and make the paw prints a little clearer. I wiped off the excess paint with a paper towel.
I sealed each one with a coat of Mod Podge. Once that dried, I put a little jump ring (the kind used for jewelry) through the hole in each one and hung them with twine. You could also use ribbon or traditional hooks. You can skip the jump ring if you like, I just like the way they hang better with the rings.

And that's all there is to it! I love the way they turned out. You could also do this in memory of a pet with a paw print shaped stamp. I hope you like them! If you have any questions feel free to ask. Do you include your pets in your holiday decorations?

Wednesday, December 18, 2013

Invitation Ornament

From the moment I saw it on Pinterest, I knew I had to make this ornament! That was back before I even had wedding invitations made. Now, six months after our wedding, I finally made it! I followed the tutorial by the lovely Christy. You should definitely check out her post (and the rest of her blog as well).


Our wedding had a black and white damask color scheme, and I'm really happy that it came through in the ornament. I added a little heart charm and tied the top with a lace ribbon, and I am so pleased with how it came out. If you look closely, you can see my old last name, the word marriage, and his last name. I was definitely nervous that none of the important pieces would show through as I was cramming bits of paper into the ornament! I think it's great, though, and it's a fantastic way to save one of our invitations. What do you think?