Showing posts with label DIY. Show all posts

Monday, May 26, 2014

Paper Anniversary

My first wedding anniversary is coming up, which is traditionally the Paper Anniversary. I have a few idea about what I'd like to get for my hubby, but that's a post for another day. Until then, I'd like to share the gift I made him for Valentine's Day that could easily be reworked for a first anniversary gift.


This was an incredibly easy craft requiring a deck of cards, Mod Podge, a hole punch, binder rings, and some decorations! The hardest part was narrowing down my list to 52 things!


This craft was not my idea. I used the tutorial and template provided by Wives Unscripted. There's another great tutorial at this website.


The first step is making a list of all the things you love about the person you're making the gift for. If you are having trouble coming up with items, several people have posted theirs online if you need some inspiration.


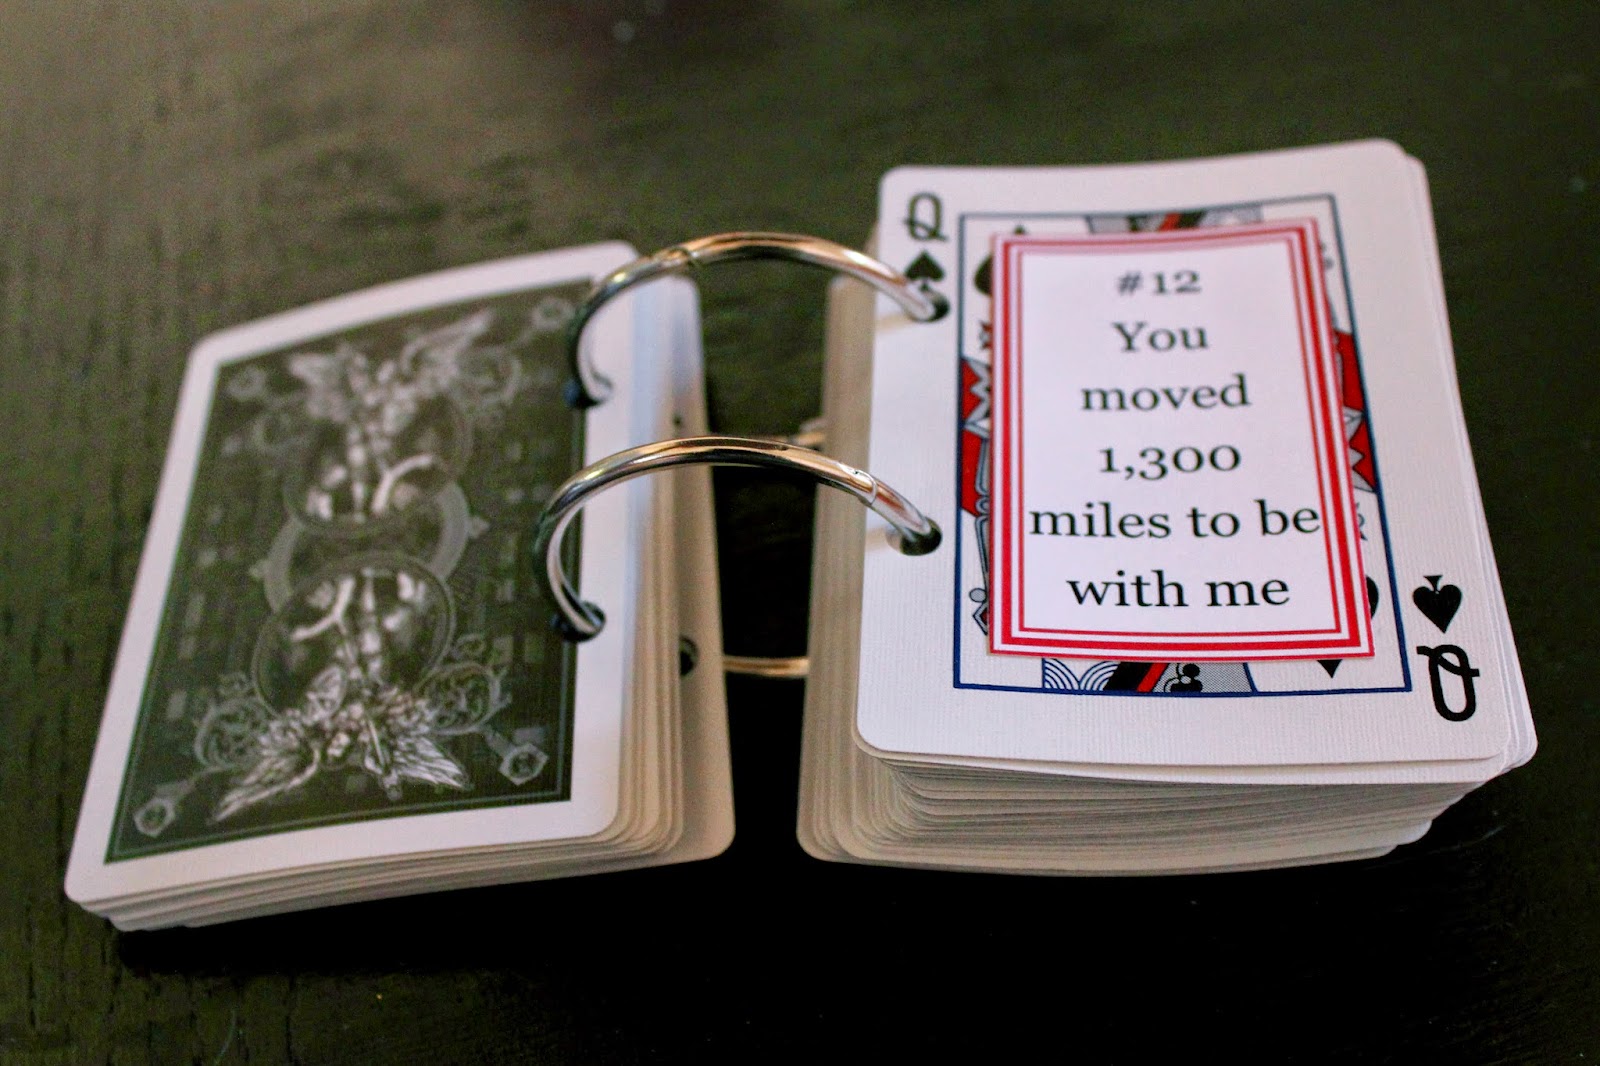
You can use any deck of cards, but I chose one with really lovely artwork that I knew my husband would appreciate (he did, he wants another pack to play with). Cutting out all the individual squares took some time, especially since I somehow fail at using a paper cutter. I made a template to punch out the holes with using one of the instruction cards for the deck and attached all the cards together with binder rings. I added some embellishments to the "cover" and voila!


Overall it was very easy and inexpensive to make, and I'm very pleased with the end result! My husband loved it too, which is the most important part. What did you get for your Paper Anniversary?


Sunday, December 22, 2013

Pet Ornaments!

I must admit, I'm something of a crazy cat lady. With four fur babies (three of which are curled up with me as I write this post), of course I'd want to include them in my holiday decorations! This year I decided to make an ornament for each of the cats, with their help.
I bought red and green Sculpey III, which I had never used before (I always buy the big bricks of white Sculpey II and paint it). I rolled out the clay and cut out my individual ornaments with the top of a cup.
 Then came the fun part: Catching the cats and pressing their paws into the clay! Some were more cooperative than others. Of course, make sure you're not causing your pet too much stress. If they don't want to participate, try again later. If the paw print isn't very deep, you can take your pinky finger and make the impression a little deeper. If you mess up, just wad up the clay and try again!
Pheeny clearly did not want to make ornaments. Her paw print came out a little wonky, so I'll probably remake it at some point. After I had their prints, I took my clay embossing tool and added their names and the year. I poked a hole in each one for hanging.
 I baked the ornaments according to the directions on the clay, and let them cool. Once they cooled, I painted each one with black paint to bring out the detail in the lettering and make the paw prints a little clearer. I wiped off the excess paint with a paper towel.
I sealed each one with a coat of Mod Podge. Once that dried, I put a little jump ring (the kind used for jewelry) through the hole in each one and hung them with twine. You could also use ribbon or traditional hooks. You can skip the jump ring if you like, I just like the way they hang better with the rings.

And that's all there is to it! I love the way they turned out. You could also do this in memory of a pet with a paw print shaped stamp. I hope you like them! If you have any questions feel free to ask. Do you include your pets in your holiday decorations?

Wednesday, December 18, 2013

Invitation Ornament

From the moment I saw it on Pinterest, I knew I had to make this ornament! That was back before I even had wedding invitations made. Now, six months after our wedding, I finally made it! I followed the tutorial by the lovely Christy. You should definitely check out her post (and the rest of her blog as well).


Our wedding had a black and white damask color scheme, and I'm really happy that it came through in the ornament. I added a little heart charm and tied the top with a lace ribbon, and I am so pleased with how it came out. If you look closely, you can see my old last name, the word marriage, and his last name. I was definitely nervous that none of the important pieces would show through as I was cramming bits of paper into the ornament! I think it's great, though, and it's a fantastic way to save one of our invitations. What do you think?